Menu
Menu

Rooflight Cleaning and Maintenance Guide

Cleaning your roof windows can help keep them in great condition all year round. Whether you have installed pitched rooflights or flat rooflights, you will need to keep your rooflights clean. Roof lanterns and walk-on skylights will also need to be looked after to ensure they’re adding as much light into your house as possible.

In this rooflight cleaning and maintenance guide, we cover everything you need to know about cleaning your rooflight.

We will cover:-

  • How to clean roof windows, skylights and rooflights
  • How often you need to clean your rooflights
  • Why you need to clean your rooflight windows
  • Rooflight cleaning safety tips
  • How to clean different types of rooflights including flat roof and pitched roof windows
  • The best and easiest way to clean your rooflights
  • How to clean weather seals and top gutters
  • How to clean conservation windows
  • How to clean roof windows without a ladder
  • The correct cleaning products to use on your rooflights
  • The tools you will need
  • Much more


Let’s take a look!

Gate House_Architect_Page
Interior shot of Neo Rooflight at Wraxall yard

How often should you clean rooflights?

We do recommend that you get your rooflights cleaned by a contractor every 6 months in order to maintain your rooflights for years to come. If you decide to clean them yourself, the cleaning and maintenance tips below can ensure you clean your roof windows appropriately and safely.

Why do you need to clean rooflights?

Pollution, rainwater staining, bird droppings, tree sap and debris can all build up on rooflights over time. Regular cleaning helps to maintain their appearance and performance, and ensures as much natural light as possible enters your home.

Clean rooflights not only look better, but they also function better. Over time, dirt and grime can reduce the amount of light entering your space, which can affect both comfort and energy efficiency. Dirt and debris can also collect around frames and seals, which leads to potential water ingress or damage to coatings.

Both internal and external cleaning is important. Indoors, dust, condensation and cooking fumes can leave a film on the glass. Externally, moss, leaves, or bird droppings can cause staining or even encourage corrosion on metal components.

Regular cleaning also helps prevent long-term issues. For example, blocked top gutters or drainage channels can lead to leaks, and acidic deposits from pollution or bird mess can degrade the surface over time. On walk-on rooflights, moss and algae build-up can make the surface slippery and unsafe.

That’s why at The Rooflight Co we recommend inspecting and cleaning your rooflights every six months as standard, or more frequently in areas with high tree coverage, pollution, or extreme weather conditions.

What tools will I need to clean my rooflights?

Below is a list of some of the most common tools you may need:-

  • Warm, mild soapy water
  • Non-abrasive cloth or sponge
  • Good quality class cleaner
  • Paper or kitchen towel
  • Ladder
  • Window cleaning pole
  • Soft brush
  • Squeegee
  • Hose
  • Safety equipment if working at heights

Cleaning flat rooflights

Flat rooflights may require more maintenance due to the flat angle of flat rooflight design. This means that excess water can occasionally collect on the roof, although flat rooflight design is not impacted by rainwater. Regular maintenance may involve checking for moss or debris gathering on the roof. Avoid standing or leaning on the flat rooflight, unless you have installed rooflights that are specifically designed to be walked on.

Cleaning pitched rooflights

Pitched rooflights are installed at an angle, which means more debris may naturally fall away with the help of rainwater. If you do need to clean pitched rooflights, always work methodically and safely, and ensure all remnants of cleaning products are removed from both the glass and the rooflight structure when you are finished.

Safety tips for cleaning rooflight windows

Cleaning rooflights will mean working at height, so your personal safety should always come first. Whether you’re cleaning from inside or outside, taking the right precautions will help prevent accidents or damage to your windows.

General safety tips

  • Carry out a risk assessment prior to starting any cleaning.
  • Never lean or place your weight directly on the glass of the rooflight.
  • Use non-slip footwear and weather-appropriate clothing.
  • Avoid cleaning in poor weather conditions, especially rain or strong winds.

Cleaning from the inside

  • If your rooflight rotates for internal cleaning, ensure it is securely locked in position before cleaning.
  • Use telescopic poles or sponge sticks to reach high or awkward areas.
  • Do not overreach – always use a stable step ladder if needed.

Cleaning from the outside

  • Use a roof ladder or appropriate access equipment when working at height.
  • Always have someone nearby if you’re using a ladder or cleaning on a roof.
  • Avoid using pressure washers or hoses at full force near seals or joints.
  • Consider hiring a professional if access is difficult or if you’re not comfortable working at height.

What is the best way to clean a rooflight?

Step-by-step: how to clean your rooflight

  1. Carry out a risk assessment: Check weather conditions, plan your access, and gather safety gear.
  2. Gather your cleaning tools: Prepare warm soapy water, soft cloths, squeegee, telescopic pole (if needed), and glass cleaner.
  3. Ensure safe access: Use a roof ladder for external cleaning or a stable step ladder/telescopic tool for internal access. Avoid standing or leaning on the rooflight.
  4. Brush off loose debris: Gently remove leaves, dust, or moss with a soft brush before applying any water.
  5. Wash the glass surface: Clean with warm, mild soapy water using a sponge or soft cloth. Avoid strong chemicals or abrasives.
  6. Rinse and dry: Rinse with clean water or a hose (low pressure), then use a squeegee or dry cloth to avoid streaks.
  7. Clean the frames and seals: Wipe down the frame and weather seals with a damp cloth and mild detergent to remove dirt or residue.
  8. Inspect and clear top gutters: If accessible, remove any debris from the top gutter to prevent drainage issues.
  9. Check for any signs of damage: Look out for cracked seals, paint issues or corrosion, and arrange maintenance if needed.
  10. Repeat every 6 months: Or more frequently in high-pollution or tree-covered areas.
The family home at Cuddymoss, Ayrshire
Michael Baker Boathouse - Slim View
Bathroom at the Double Red Duke

Cleaning rooflight weather seals

All rooflight weather seals should be wiped down every 6 months to remove any build-up from tree debris, sap, dust or dirt. You can use a mix of water and a mild detergent to clean the seals of your rooflight and the sealing face of the window frame.

Cleaning the rooflight top gutter

The top gutter of your rooflight will also need to be regularly cleaned and maintained to remove any twigs, leaves or debris that is collected. Leaving these can lead to leakages to the roof window head, and chemicals from the debris can affect the paint coatings on your rooflight. Regular maintenance is advised, around every 6 months.

How do you clean conservation rooflights?

Cleaning your conservation rooflight is much the same as cleaning a pitched rooflight or flat rooflight. The Conservation Rooflight window from The Rooflight Company features traditionally designed Victorian cast-iron frames, which can be cleaned and maintained using soft cloths and gentle detergents or soaps. Avoid using metal scrapers, metal wired sponges or harsh bristles on the framing or the glass of your conservation rooflight.

Cleaning internal roof windows

You should aim to clean your internal roof windows every 2-3 months to prevent dust and dirt from building up and to ensure you allow as much light as possible to stream into your home. Ensure you use non-abrasive sponges and mild soapy water.  A good quality glass cleaner can help give your roof windows extra shine.

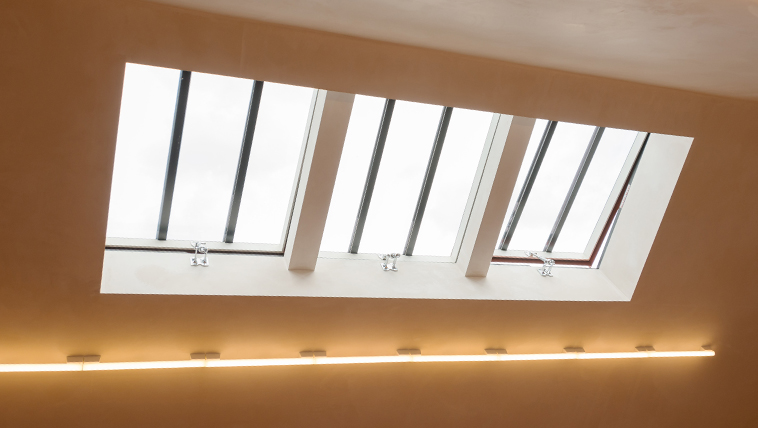
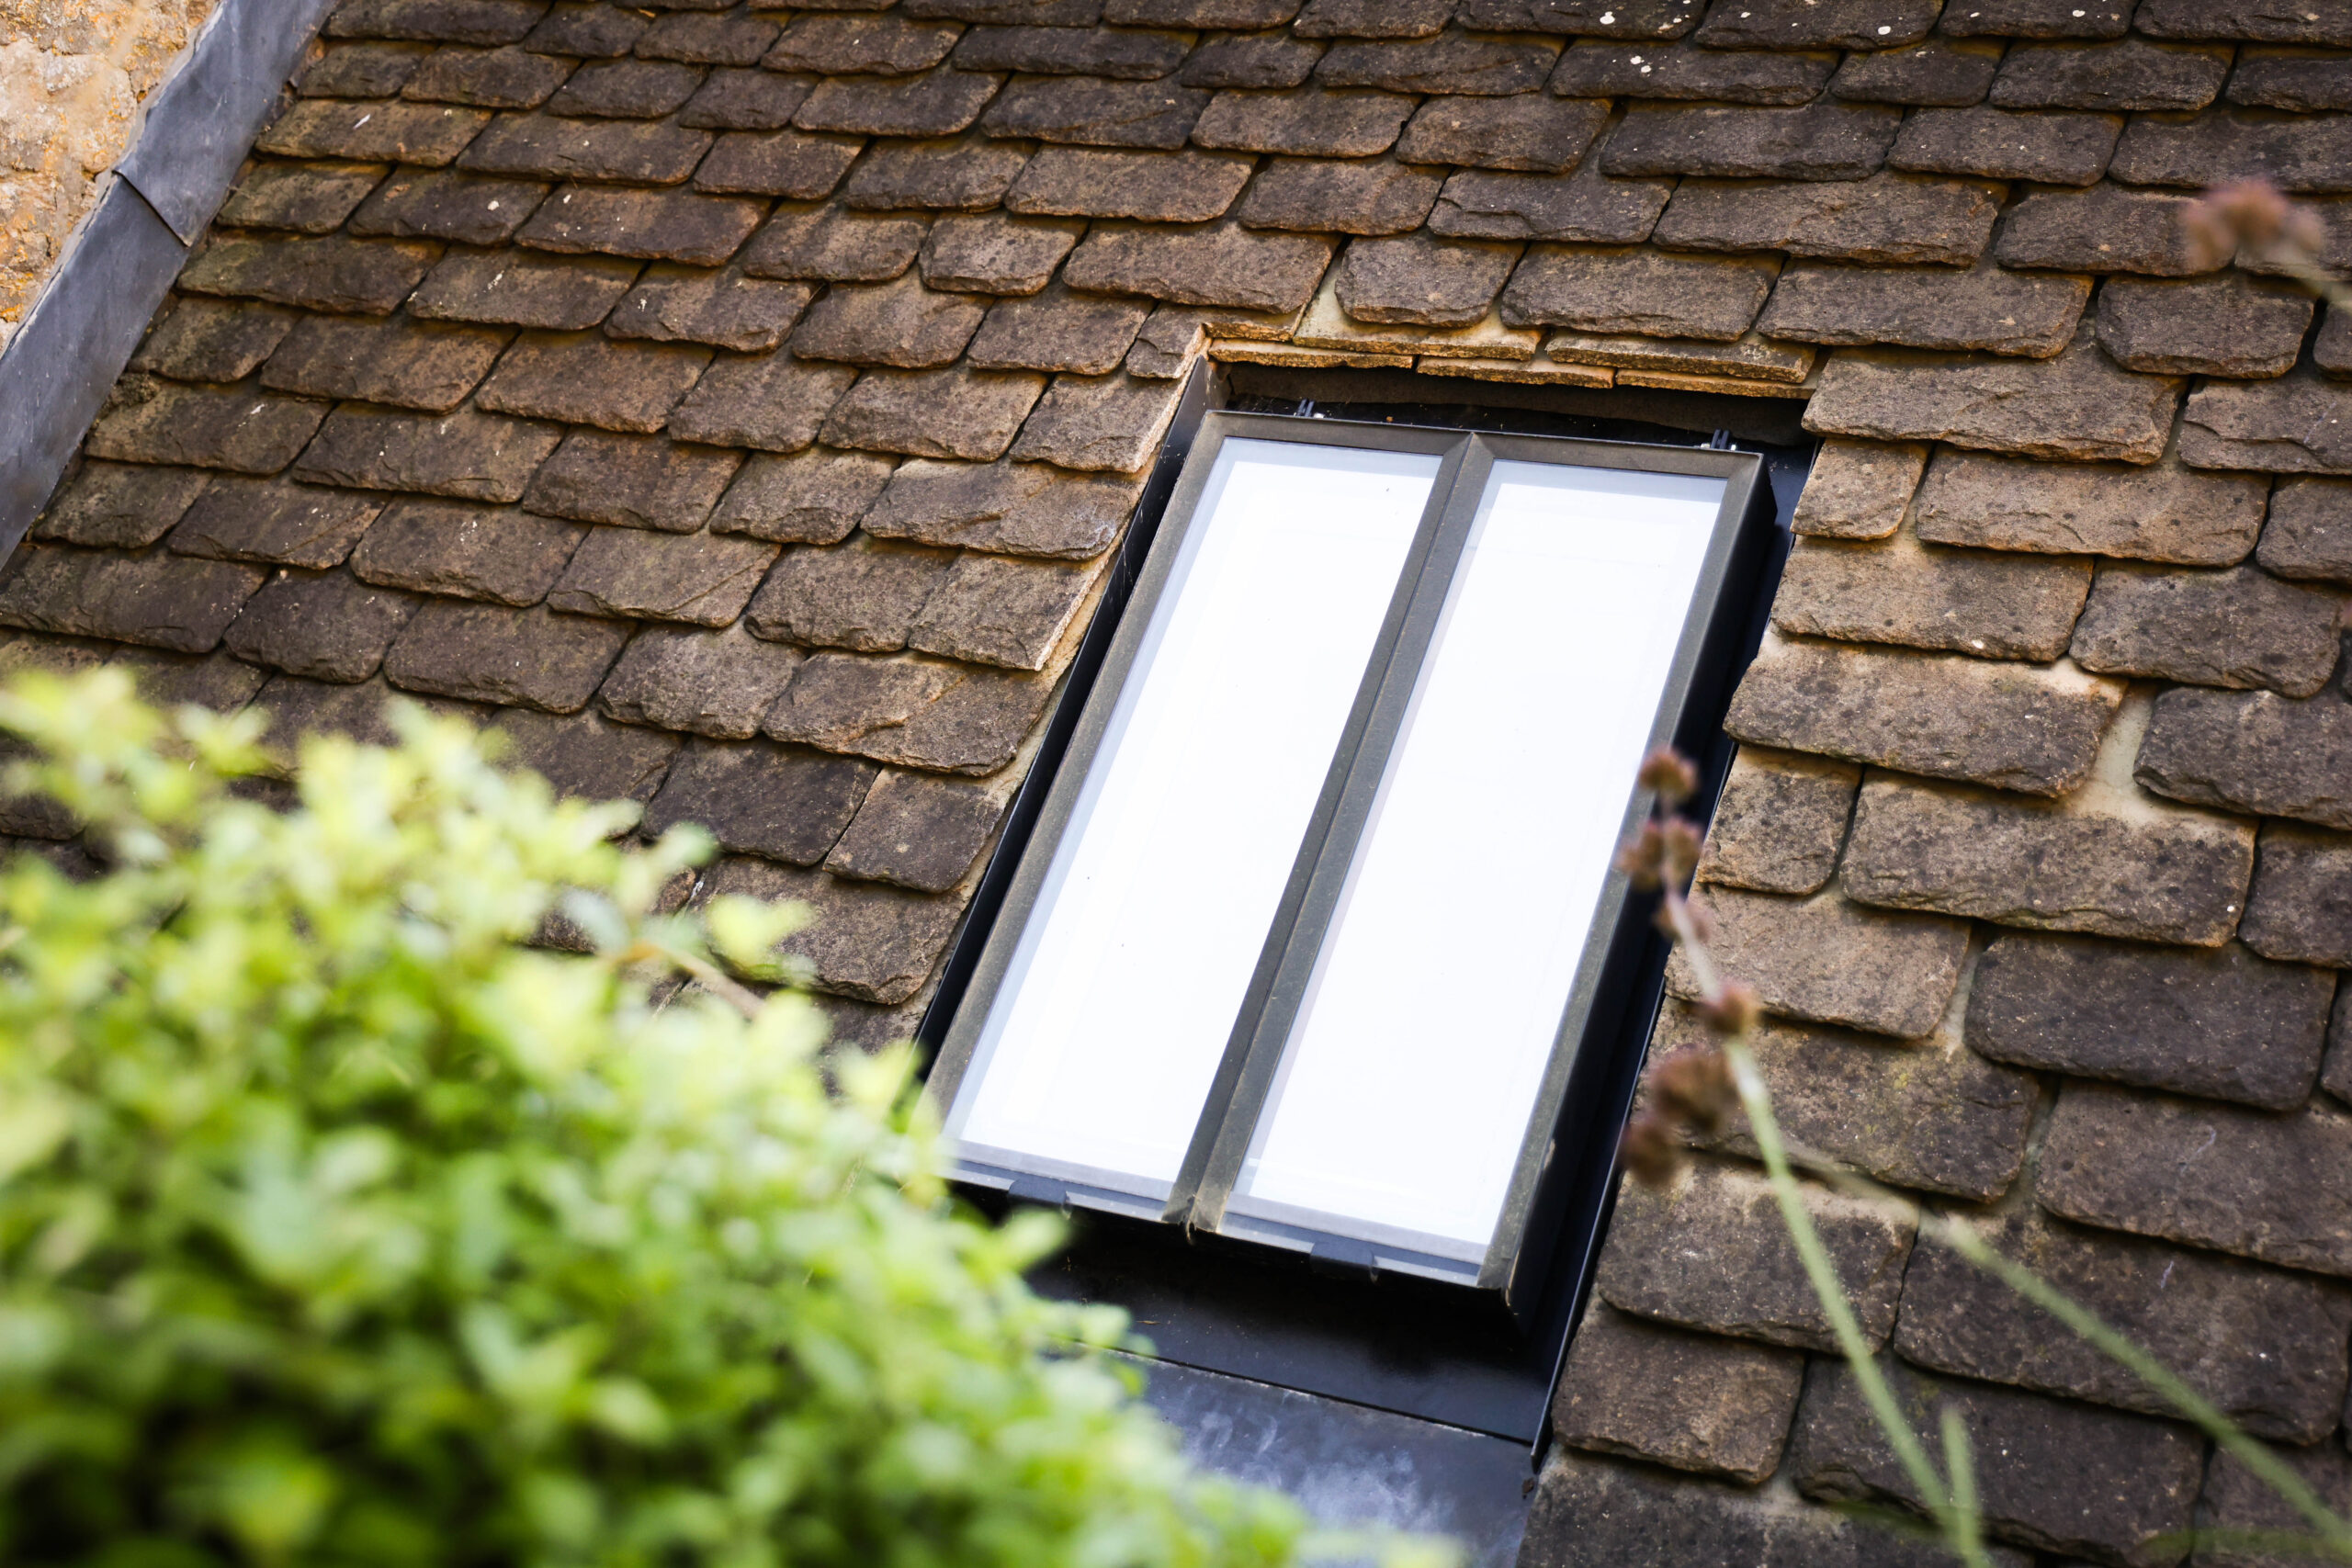
How do you clean the inside of a lantern rooflight?

It is recommended to clean the inside of a lantern rooflight every couple of months to keep away dust and dirt and prevent build-up. To access hard to reach areas such as lantern rooflight interiors, use a sponge on a stick to assist you when cleaning. Ensure the sponge is non-abrasive and, as with all other rooflights, avoid using harsh cleaning chemicals. Use warm soapy water, good quality glass cleaner, a mild detergent and a soft cloth.

What cleaning products should I use to clean my rooflights?

You can use any good quality branded glass-cleaning product to clean your rooflight glass. De-ionised water can also be used to avoid any streaks appearing on the glass. Always use a soft cloth or non-abrasive sponge when cleaning your rooflight glass, and wipe away any excess moisture with a dry soft cloth.  Avoid using any harsh chemicals on the glass, as this could damage the glass finish. A naturally soft-bristled brush can be used, but avoid scrapers and harsh bristles that will only damage the finish of the glass and the rooflight frame.

Self-cleaning glass

At The Rooflight Company, our Neo® roof windows are all installed with bio-clean self-cleaning glass, which will require less cleaning than normal glass. Be sure to check with your supplier if you have installed self-cleaning glass, as cleaning and maintenance may vary.

How does self-cleaning glass work?

Self-cleaning glass works by using natural sunlight to clean the roof window and clear it of debris and dirt. Self-cleaning glass is covered with an organic compound that oxidizes and breaks down dirt using natural daylight.  The remaining debris and dirt are then washed away by rainwater. Because of how it works, using the natural angle of the roof to drain away rainwater, self-cleaning glass is not suitable for flat rooflights and works best for pitched rooflights.

How do you clean and maintain self-cleaning glass for your rooflights?

You will need to clean your roof windows far less if you install BioClean self-cleaning glass, making it an eco-friendly choice, too. Self-cleaning glass requires less general upkeep and maintenance, but check with your supplier about how often you should clean your skylight windows if you have installed self-cleaning windows.

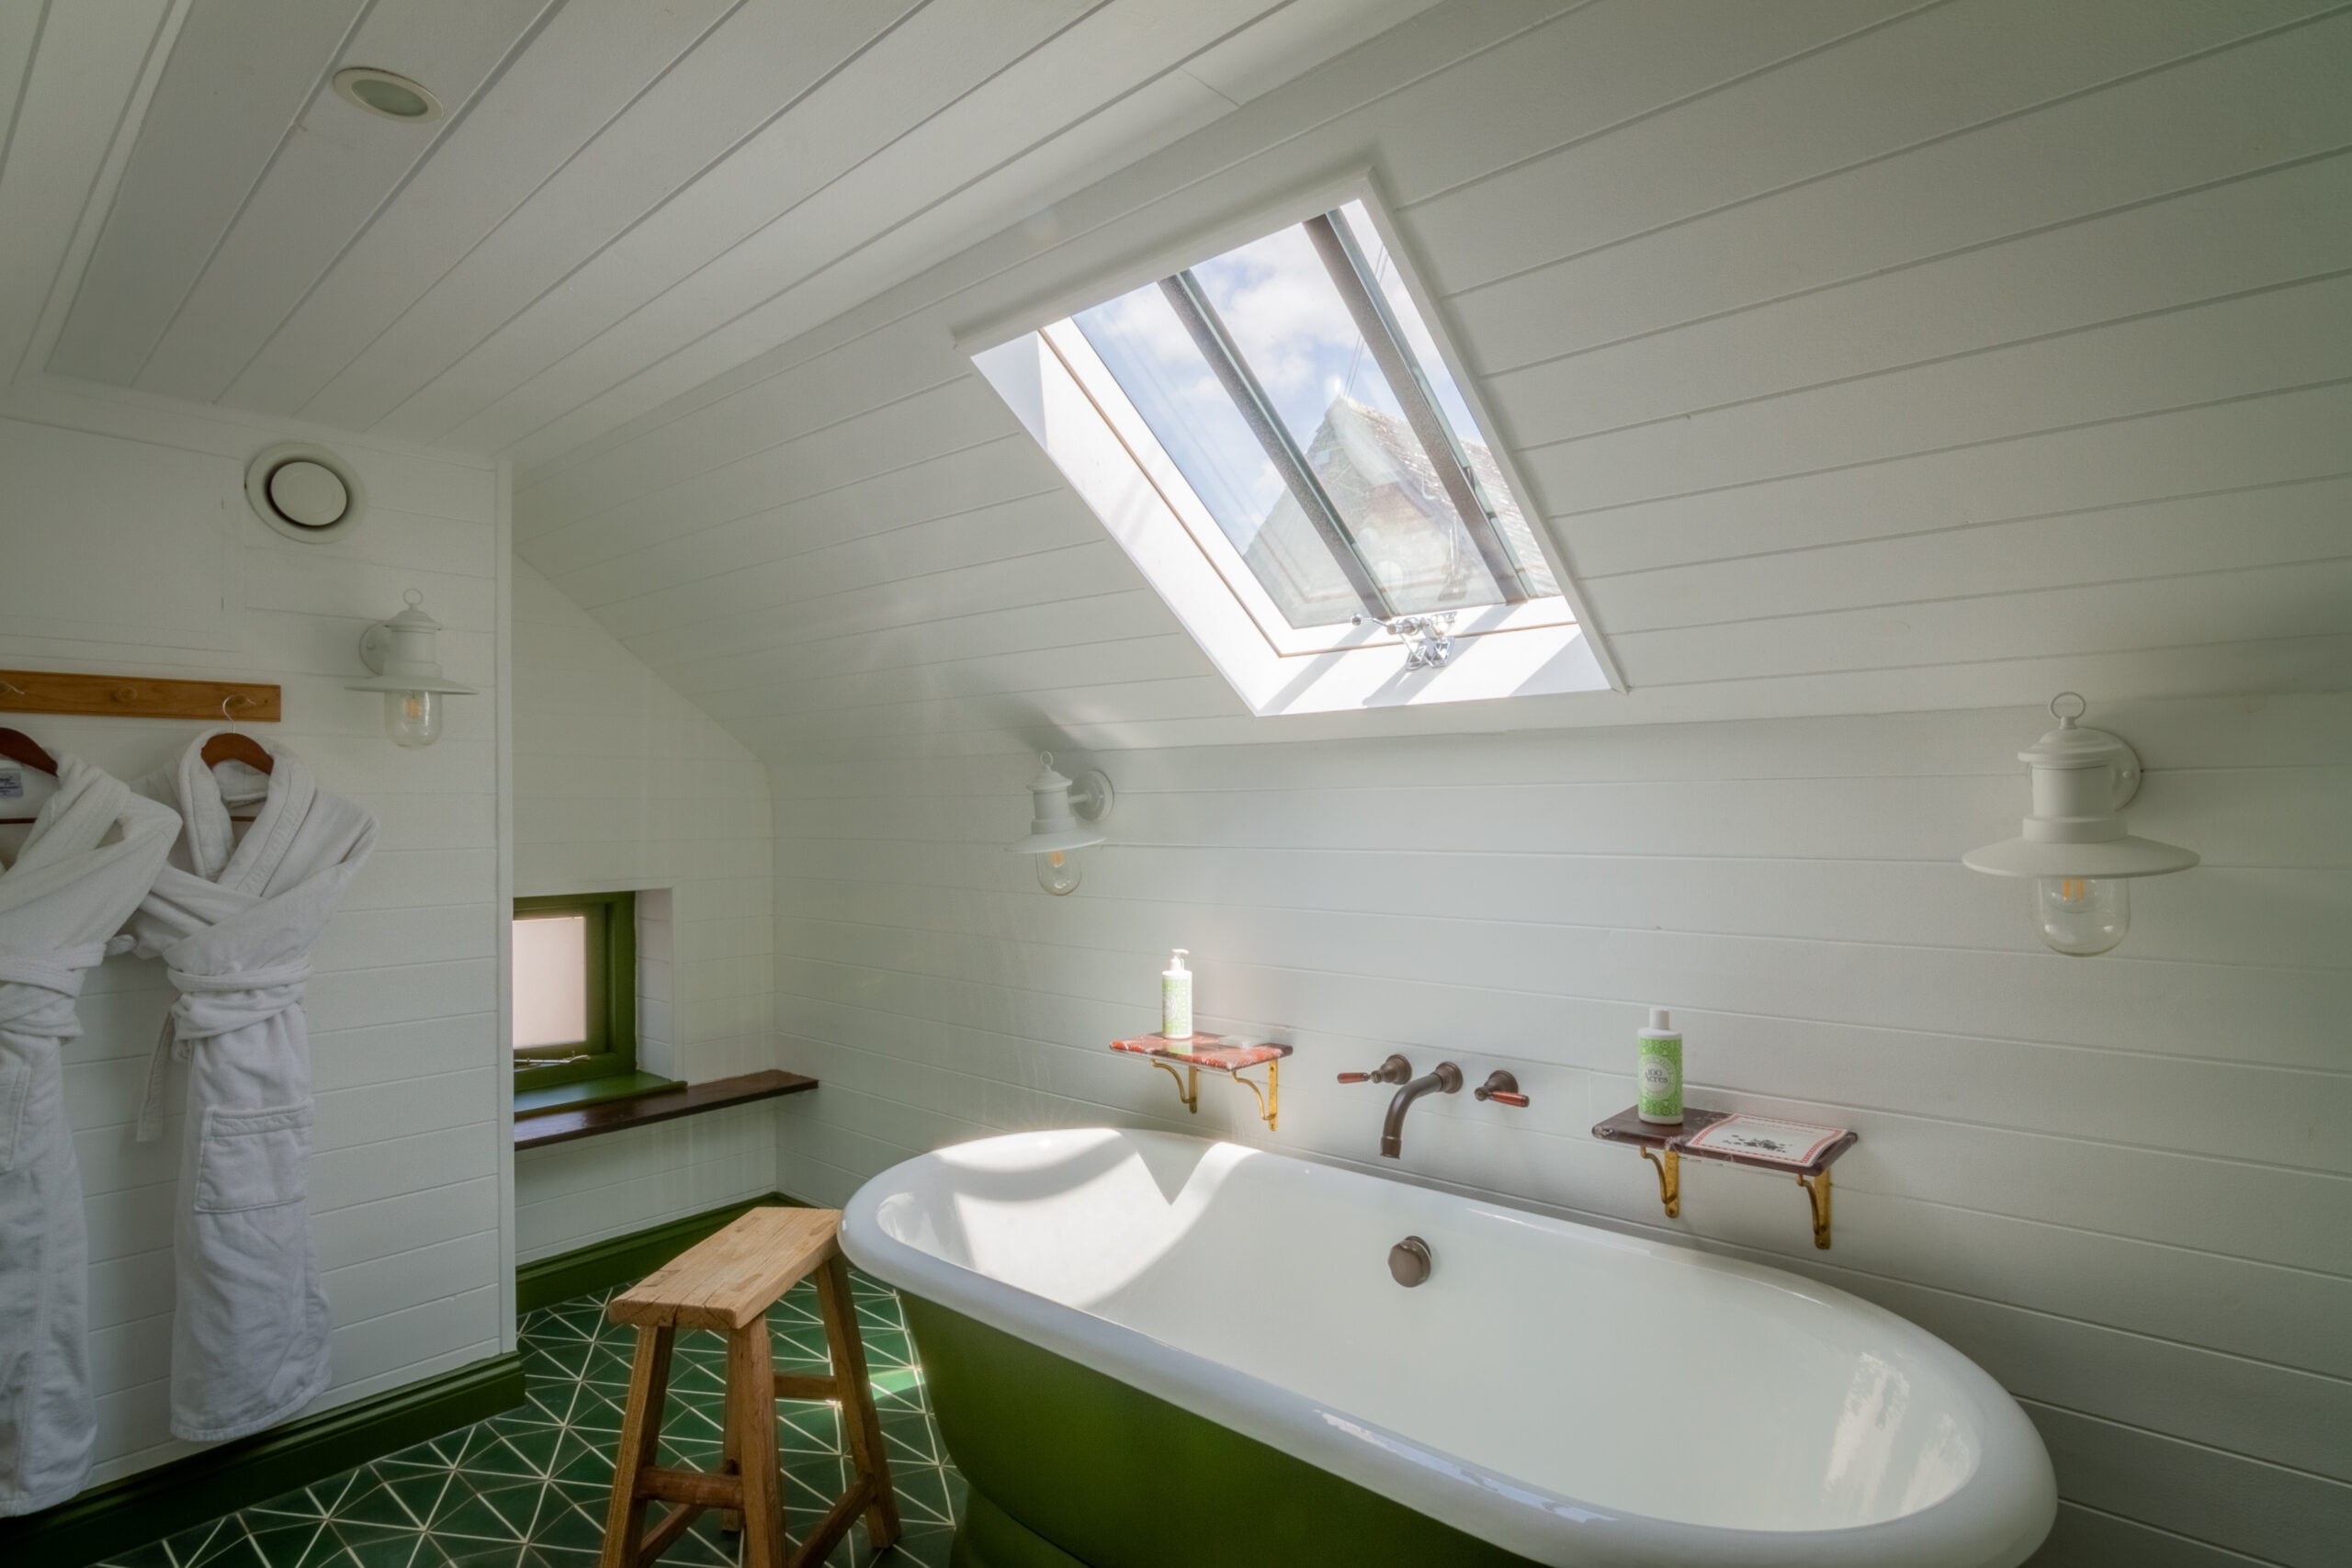
How to Stop Condensation Dripping From Skylights

In the UK’s damp climate, skylights and rooflights commonly experience condensation in colder months. This happens when warm indoor air meets the cold glass surface, forming water droplets that can drip inside.

To stop or reduce these drips, consider the following steps:

  • Ensure good ventilation: Keep air moving to remove moisture. Open windows or skylight vents regularly and use extractor fans (in kitchens and bathrooms) to expel humid air.
  • Reduce indoor humidity: Limit excess moisture inside. Use a dehumidifier to keep humidity low, and avoid adding unnecessary moisture – for example, dry clothes outdoors and keep lids on pans when cooking to reduce steam.
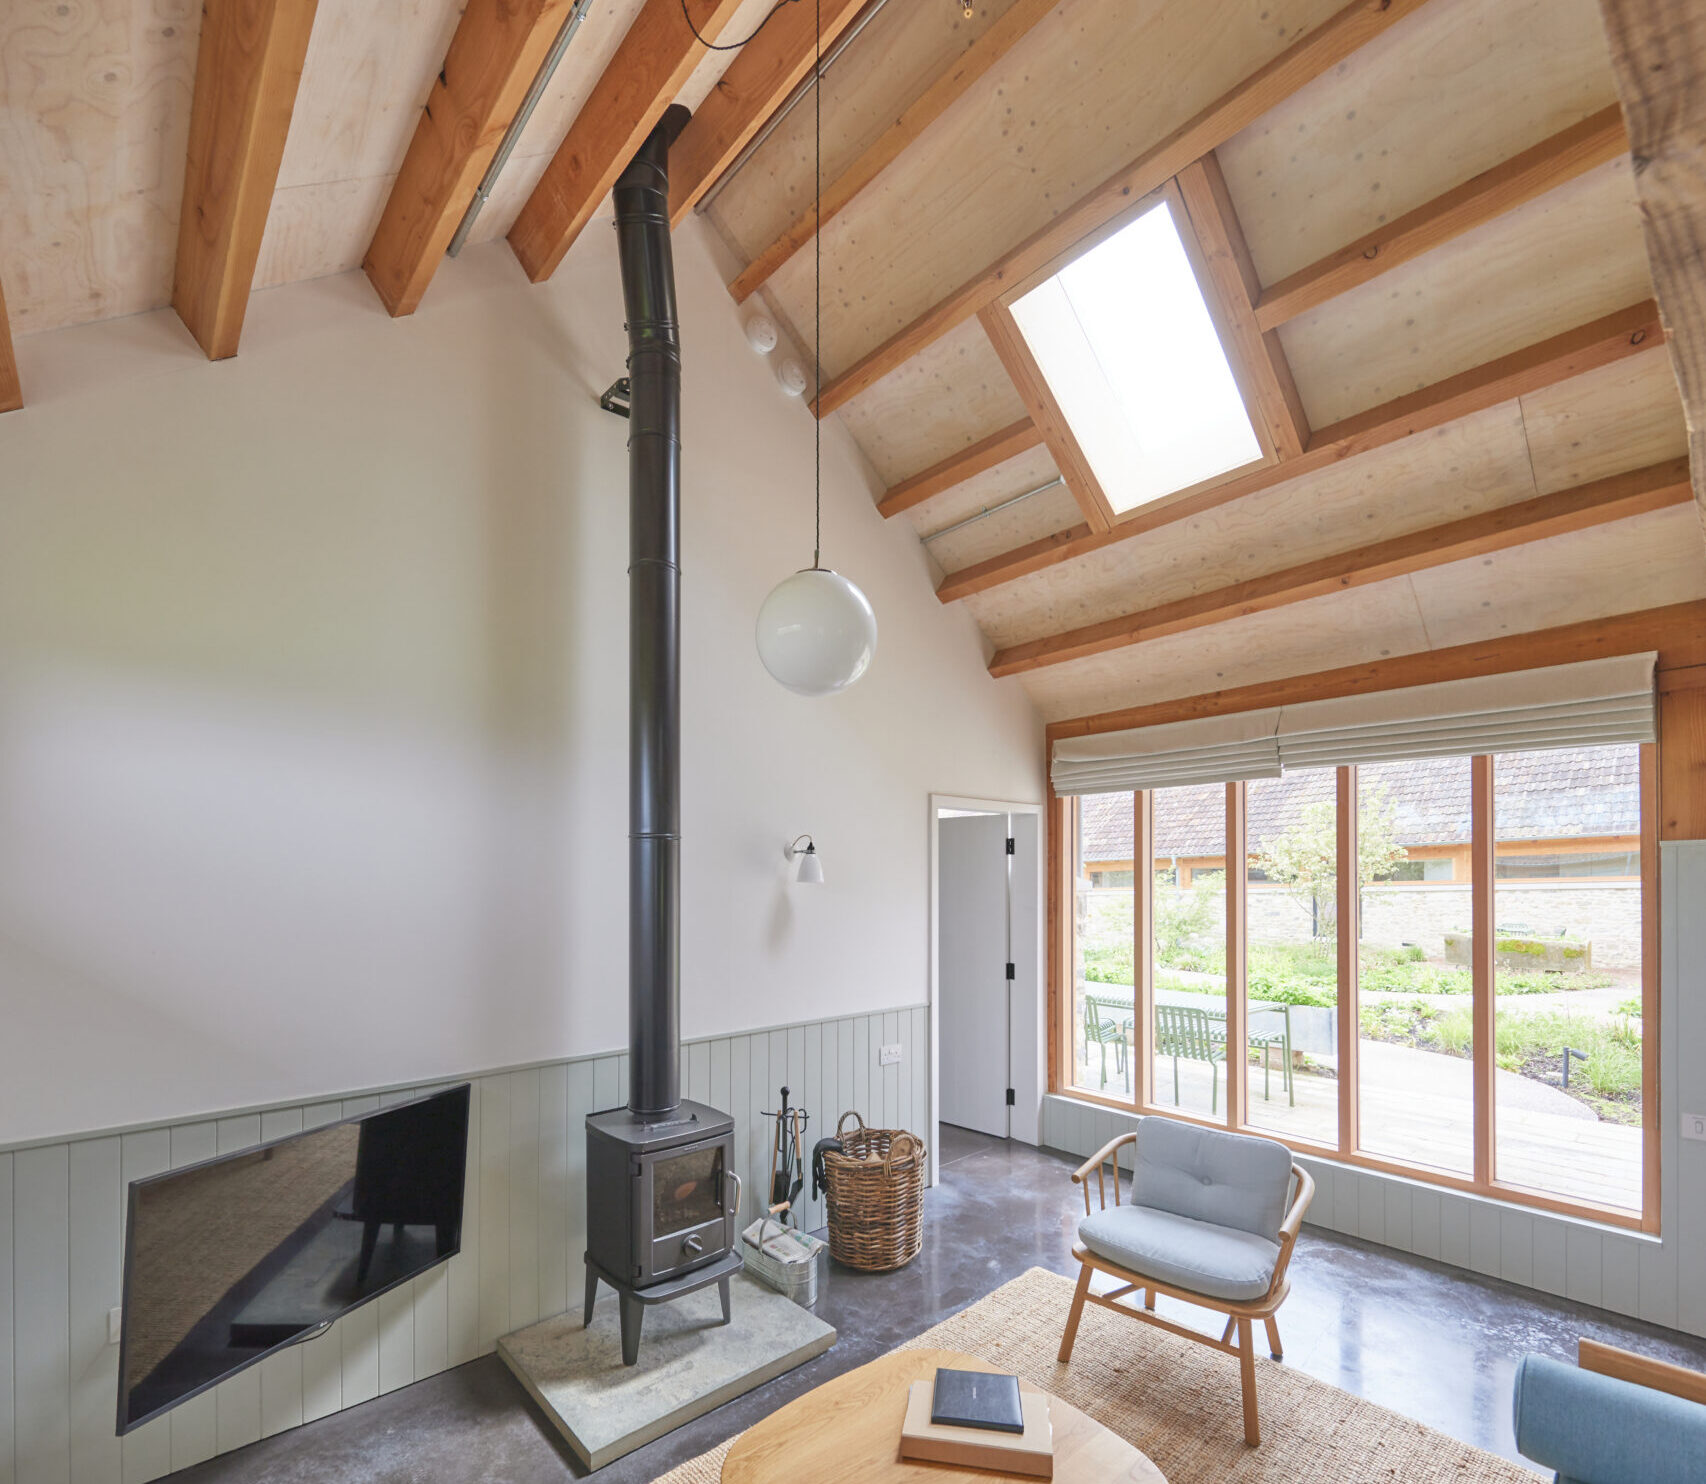
  • Improve skylight insulation: A well-insulated skylight stays warmer and is less prone to condensation, so consider upgrading any single-glazed roof window to a double or triple-glazed unit (this significantly improves thermal performance and cuts condensation risk. In winter, you can also use thermal blinds or window film at night for extra insulation.
  • Maintain the skylight: Keep your skylight clean by regularly wiping away moisture-trapping dirt, and ensure all seals are intact. Reseal any gaps or worn areas to stop cold drafts reaching the glass.

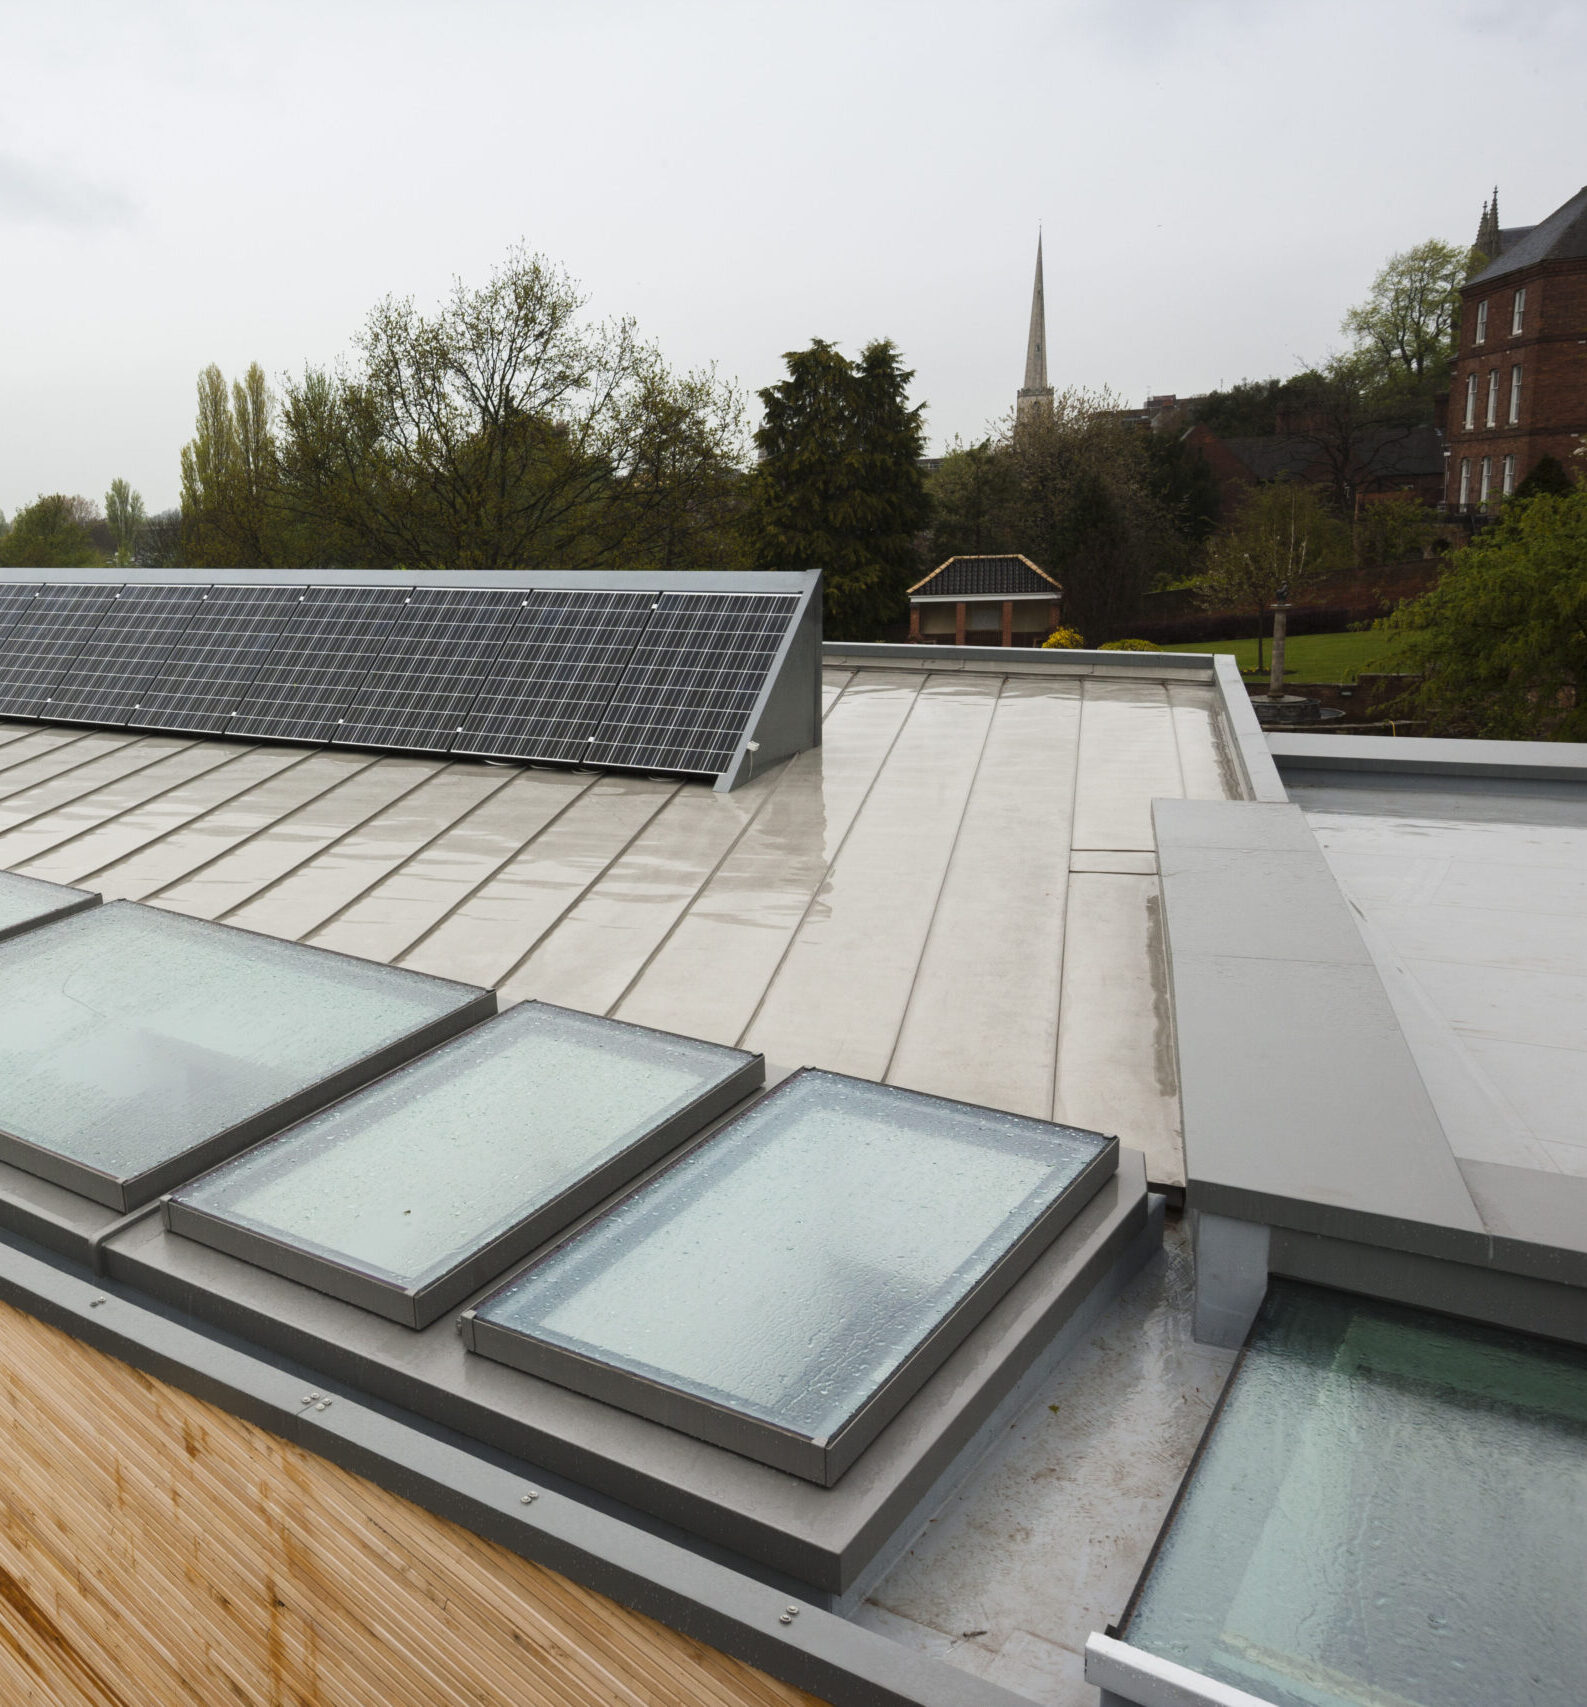
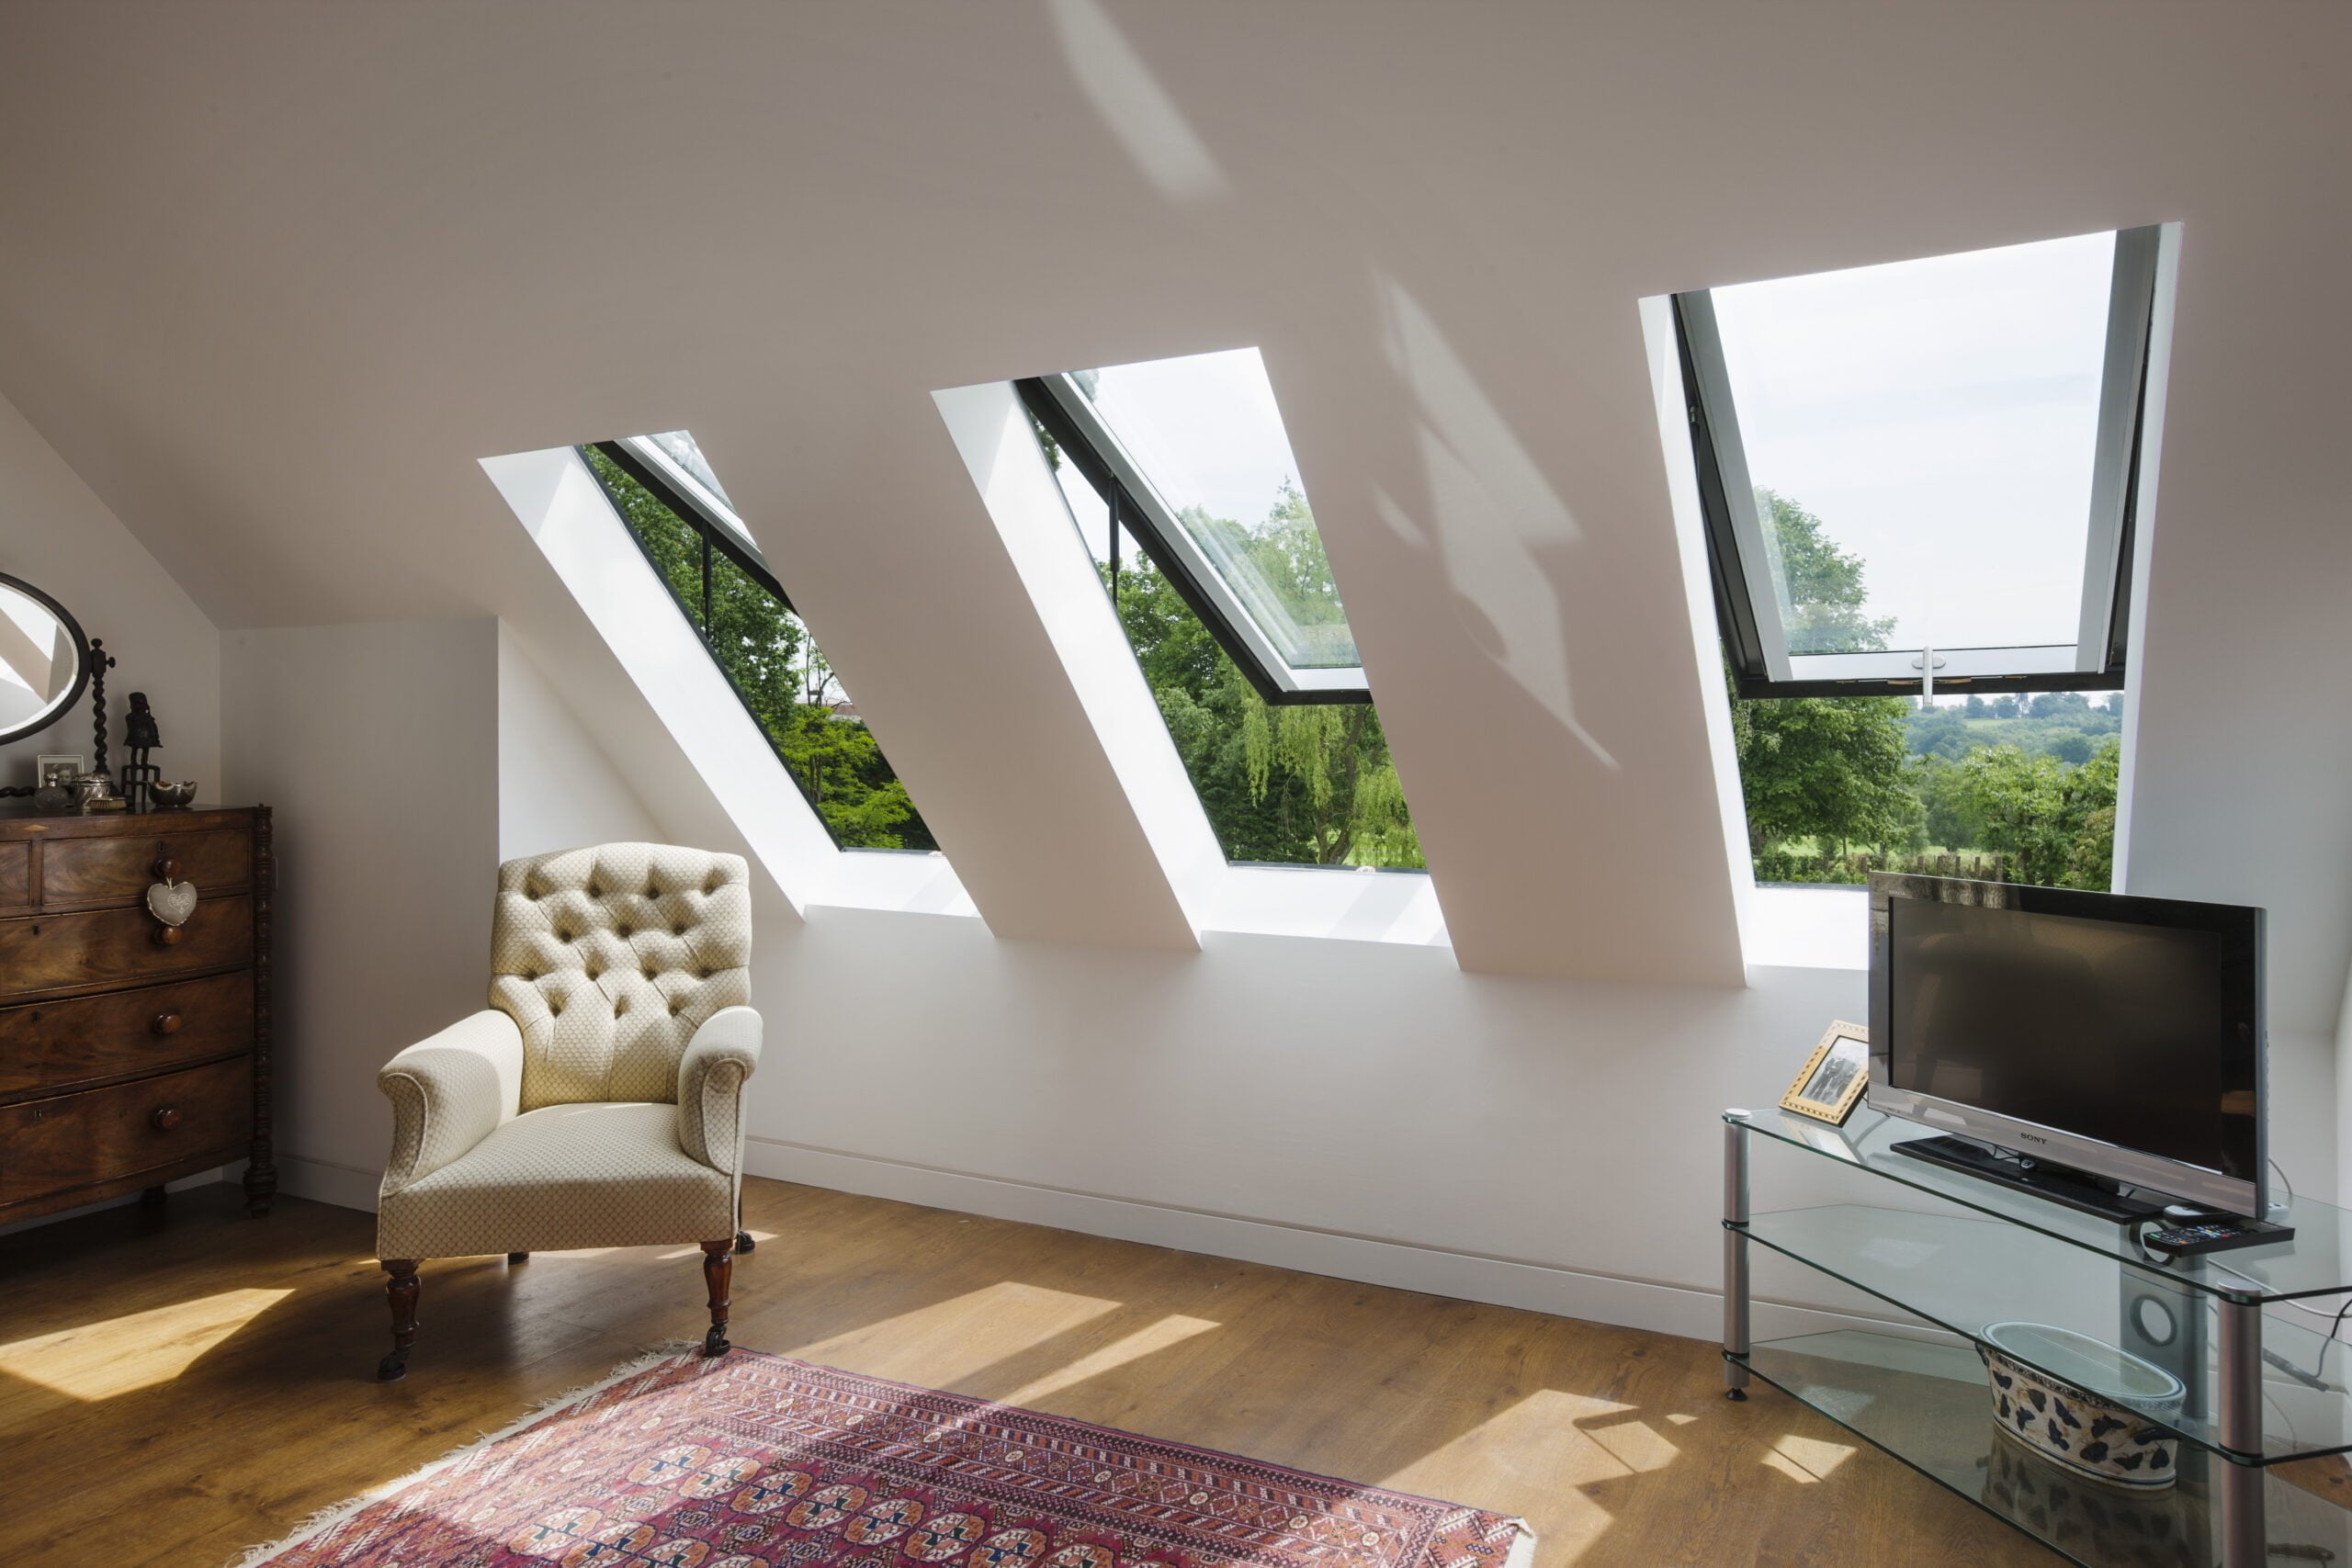
How to Clean Roof Windows Without a Ladder

Cleaning roof windows without a ladder is not only safer – it’s often more efficient. Here’s how to maintain spotless, streak-free glazing while keeping your feet firmly on the ground.

1. Essential Ladder-Free Tools

Telescopic Cleaning Poles
Extendable poles that reach 15–30 feet, made with lightweight aluminium or carbon fibre, and locking mechanisms for stability. They accept various attachments like squeegees, scrubbers, and microfiber cloths.

Water-Fed Pole Systems
A professional-grade option: poles that pump purified water directly through a brush head, letting you scrub and rinse simultaneously. The purified water ensures spot-free drying.

Soft Scrubber/Squeegee Attachments
Use dense microfiber scrubbers to lift grime, and high-quality squeegees with sharp blades for streak-free cleaning.

Telescopic Hose Brush with Built-In Water Spray
A budget-friendly, effective tool – just under £20 – that plugs into your garden hose. It features a soft brush head plus a squeegee, enabling ground-level cleaning with minimal effort and no need for a ladder.

Standard Cleaning Accessories
Microfiber cloths, mild soapy water/dish soap, vinegar solutions (for hard water stains), and soft brushes for stubborn debris.

2. Step-by-Step Cleaning Process

1. Dust First – Use a microfiber or soft-bristle brush on the pole to remove dust, cobwebs, and debris before applying liquid solutions.
2. Apply Cleaner – Attach a pad or brush soaked with warm soapy water (or diluted vinegar/soap). Work from top to bottom to avoid dirty streaks.
3. Scrub Gently – Overlap strokes moderately to remove grime. Avoid pressuring the glass too much.
4. Rinse or Wipe – Rinse with clean water via hose or damp cloth. Squeegee from top down in straight lines, wiping the blade between strokes to prevent streaks.
5. Buff Dry – Finish with a microfiber cloth for a polished, streak-free shine.

3. Top Benefits & Pro-Tips

Improved Safety: Avoid climactic risks associated with ladders—and potential property damage.
Even, Streak-Free Results: Tools like water-fed poles and squeegee attachments automatically update your technique for cleaner outcomes.
Great Value Tools: The telescopic hose brush is highly effective and cost-efficient, earning praise for its performance.
Optimal Conditions Matter: Best results come from cleaning in shaded or cooler conditions to prevent quick drying and streaking.
Start High, Work Down: Begin with the highest rooflights so runoff doesn’t dirty newly cleaned areas below.

How do I know if my rooflight needs replacing?

While modern rooflights are designed to be long-lasting, they won’t last forever. Even with regular cleaning and maintenance, natural wear and tear can take its toll. If your rooflight is over 15 years old or starting to show signs of damage, it may be time to consider a replacement. Here are some of the key things to look out for:

  • Leaks or water stains – Brown or yellow stains around the frame, or signs of damp, could mean the seals or flashing have failed. If resealing doesn’t fix the issue, it may be time for a new unit.
  • Condensation or fogging between panes – This often indicates that the seal on your glazing unit has broken down. If the glass appears constantly misty or cloudy, the rooflight may need replacing.
  • Drafts or cold spots – Feeling cold air around the rooflight or hearing whistling on windy days usually points to failed seals or gaps in the frame. Failed seals or gaps in an old rooflight will let in cold air, which can increase your heating bills.
  • Discolouration or yellowing – Older plastic units can become cloudy or yellow over time. Even glass may lose its clarity with age. If cleaning doesn’t restore visibility, the material may be past its best.
  • Visible cracks or damage – Any cracked glass or warped frames are clear signs that the rooflight is no longer structurally sound and should be replaced. Cracks tend to spread and can lead to leaks or even pose a safety hazard if the glass fails.
  • Difficulty opening or closing – If your roof window no longer operates smoothly (especially vented models), it could be due to worn cranking mechanisms, worn hinges or warped frames.
  • Old age (15+ years) – Rooflights and skylights generally have a lifespan of 10 to 20 years. If yours is over 15 years old, it’s worth inspecting it regularly or replacing it when re-roofing to avoid issues down the line.


Share on Social Media

Other Articles For You

Understanding Building Regulations for Rooflights: A Guide to Approved Documents F, K, L and O

When to Upgrade Your Rooflight (and How It Enhances Your Home)

FMB Survey Shows Why Rooflight Choice Matters in the Planning Process

The Rooflight Co. & Nicholsons Rooted In Light Series: Part 3 – Our Vision

The Rooflight Co. & Nicholsons Rooted In Light Series: Part 2 – Healthy Spaces

Standard vs Recessed Rooflight Installation: Understanding the Difference

Homeowners and Self-Builders - Neo rooflights flood a living area with natural light - Homeowner Hub. Helpful Guides: A Guide to Pitched Roof Windows

The Rooflight Co. & Nicholsons Rooted In Light Series: Part 1 – Why Daylight Matters

Courtyard view of Tew Farmhouse and Barns for the What Size Rooflight Do I Need? Blog - Contractor Hub header. Helpful Guides: What size of rooflight do I need?

Beyond the Landscape: How Neighbour Impact Can Affect Your Planning Permission

Talk To Our Technical Experts

Send us your details and our team will be in touch. 

TLC Logo June 2023-Solid Black

Connect With Our Technical Experts

TLC Logo June 2023-Solid Black

Register Your Product

Our standard terms and conditions of sale provide a warranty of 12 months from date of delivery. We recommend you register your products within this timeframe to extend your warranty, where applicable.

If you have more than one rooflight from The Rooflight Co, please enter all serial numbers below:
?
Serial number label found either:-
  • On the back of the O&M booklet supplied with the rooflight.
  • There is a sticker within the channel of the underside of the casement, visible when the casement is open OR Open the rooflight and the sticker will be located in an area that can't be seen when the rooflight is closed.
  • There is a sticker within the thermoliner channel (Channel on the baseplate), visible when the casement is open OR Open the rooflight and the sticker will be located in an area that can't be seen when the rooflight is closed.
TLC Logo June 2023-Solid Black

Education & CPD Requests

Select All That Apply